The Unity case from Kiwi Electronics is laser cut case which can be assembled quite easily. It protects the Raspberry Pi and HATs quite nicely.
Please note: The correct order is required to prevent breaking the acrylic. You should be able to assemble the case without too much pressure.

Please make sure you remove the protective film before assembly.
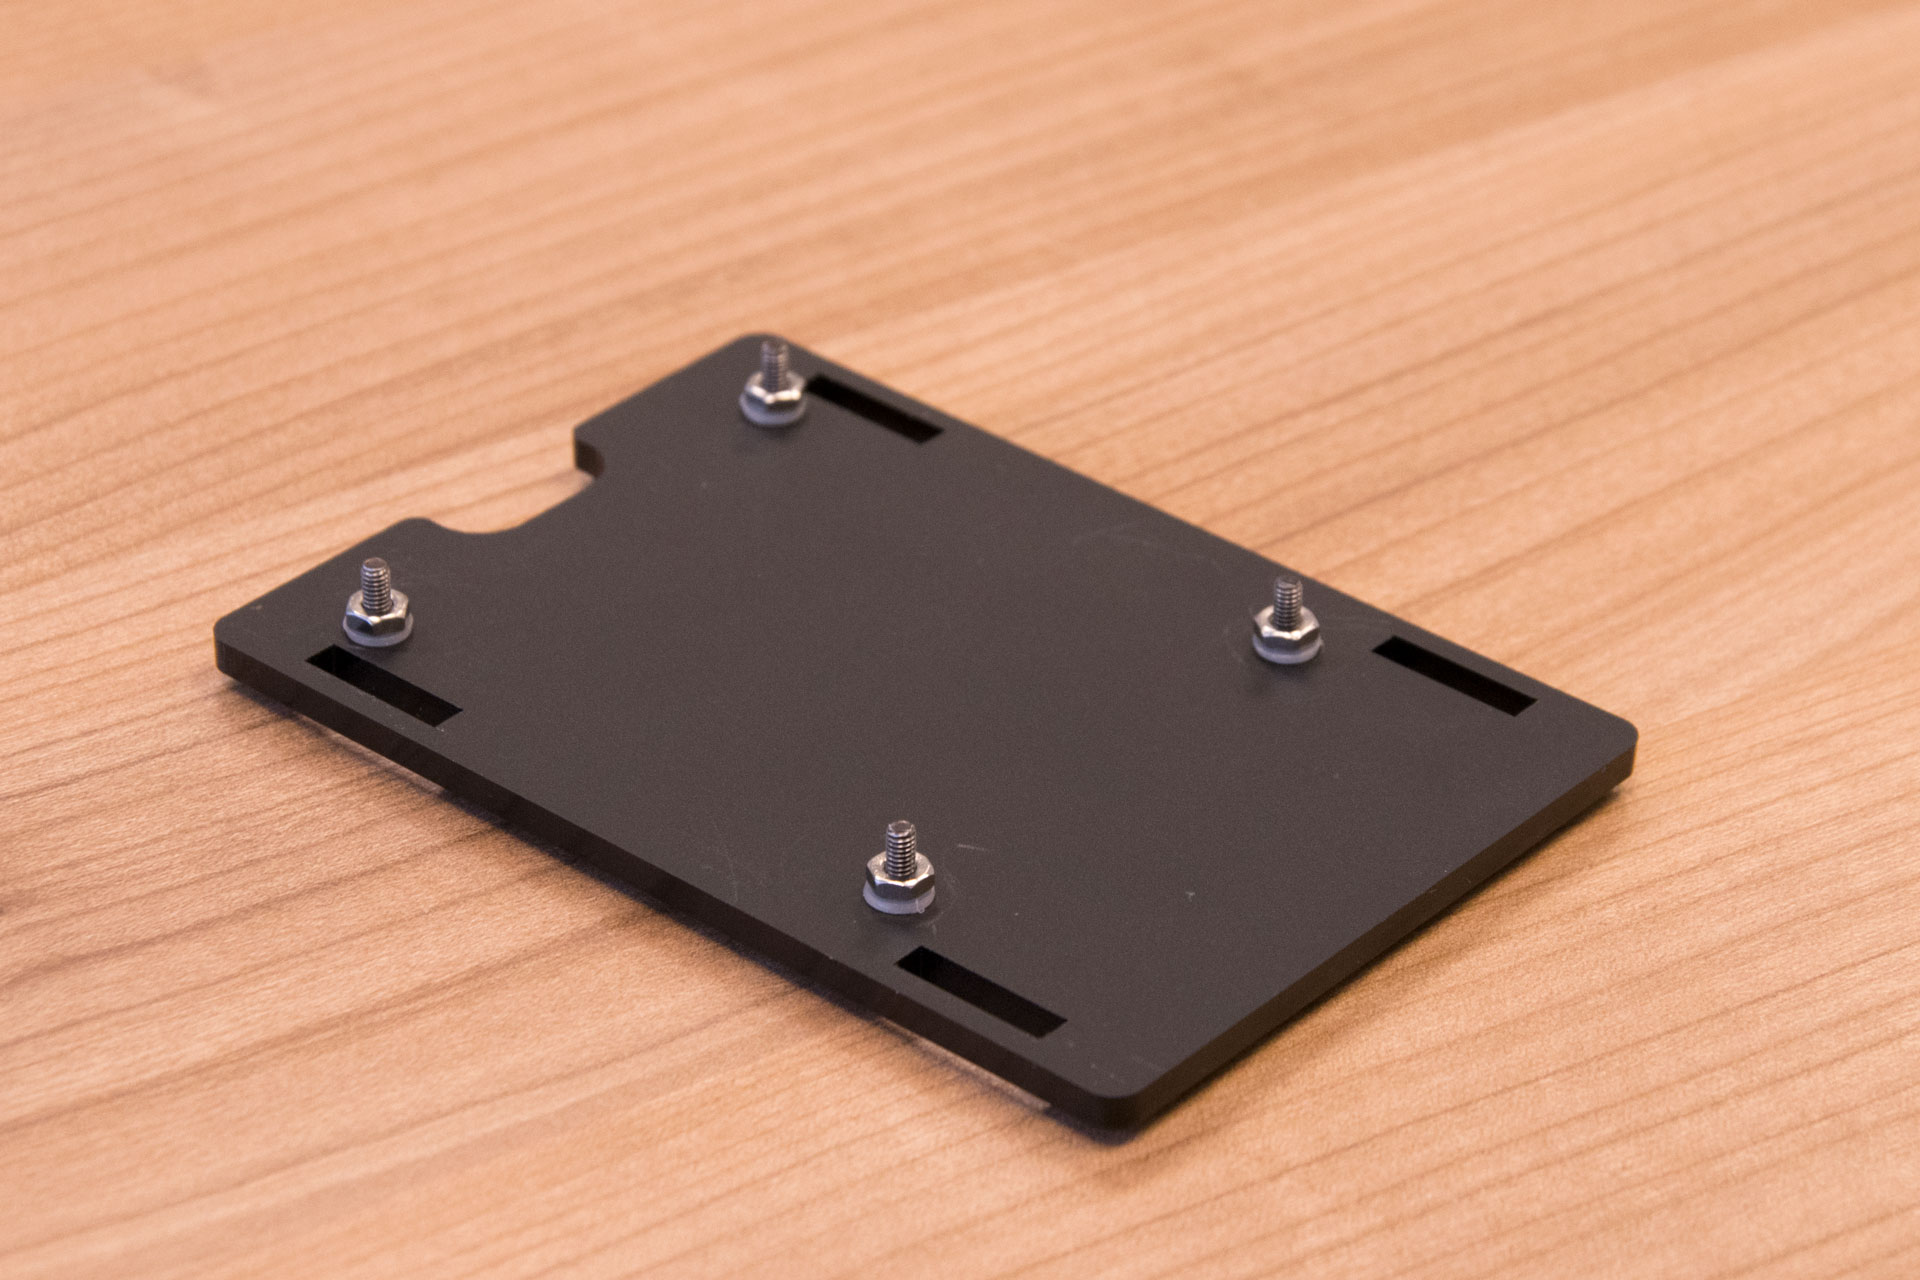
1. Start with the bottom. You can use the 10mm screws, plastic spacers and the nuts. Don't forget the spacer, it's needed for the correct height of the Raspberry Pi.
2. Place the Raspberry Pi on the screws and next place the front layer.

3. Lift the Raspberry Pi a little so you can slide the side layer over the connectors in the sockets while also fitting the front layer in the side layer socket.

4. Repeat step 3 with the other side and back layer.

5. Next you can screw the studs in place. The easiest way to do this is by screwing a 6mm screw into the stud and using a screwdriver. You can also use little pliers.

6. Place the top layer and use the 6mm screws.

Now you can place the rubber feet and place the microSD.